Adding a Time Entry
- Log into the 1stream extension.
- Go to your desired contact to open the contact screen.
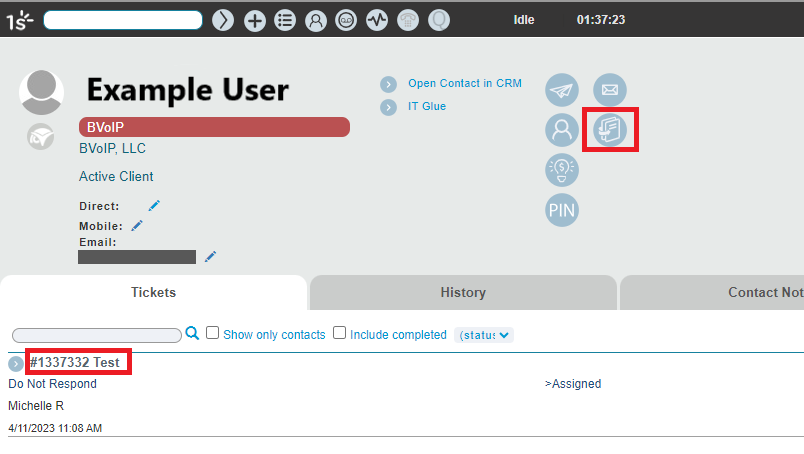
- Go to the Tickets tab.
- Click on the ticket title to open the ticket, or click the book icon to open a new ticket.
- Scroll down to the Time Entry section of the ticket.
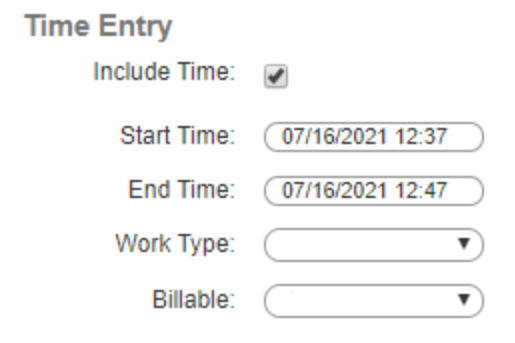
- Ensure that the Include Time box is checked.
- Ensure that the time and date that auto-populated in the Start time field is correct.
- This auto-populates based off the start/end time of the last call you completed. It will default to a 10 minute period if you're still on the call.
- If you need to correct it, click inside the textbox, a calendar and time slider will appear. You can also click the Now button to fill with the current time and date.
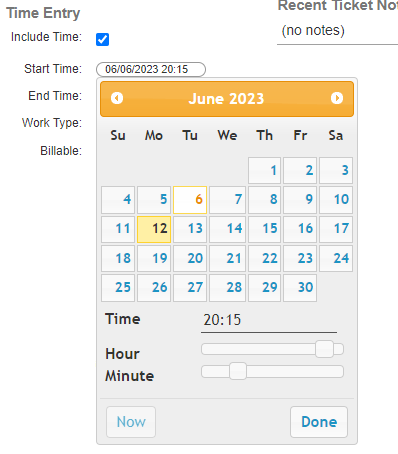
- Ensure that the time and date that auto-populated in the End time field is correct as well.
- In the Work Type drop-down, select the desired option.
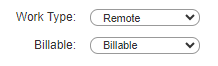
- In the Billable drop-down, select the desired option.
- Scroll down to the Notes section.
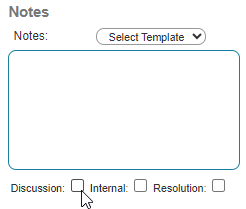
- Add Notes in the textbox and check Discussion, Internal, or Resolution.
- These option values may differ depending on the CRM
- Click the Save button.
The Time Entry will then update in the ticket in both 1stream and the connected CRM via the integration.