How to Setup Voicemail to Ticket for AutoTask
- Log into the 1stream Admin Portal.
- Go to the Administration > Manage Organization menu in the top right.

- Scroll down to the Connected Account and CRM Settings section.
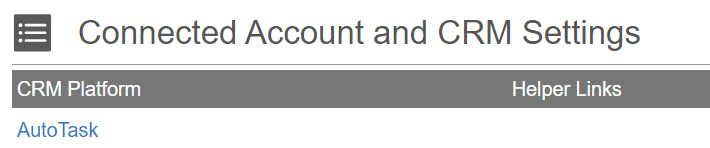
- Click on the AutoTask text. The Modify AutoTask Connection Settings pop-up will appear.
- Scroll down to the AutoTask VoiceMail Extensions To Tickets section.

- Click the green plus (+) sign in the right top right corner of this section to make a new entry.

- In the ExtensionNumber field, type in the extension that will be monitored for new voicemails to create Autotask tickets.
- In the Issue Type drop-down, select the desired issue type to be selected on.
- In the Sub Issue Type drop-down, select the desired sub issue that should apply to the voicemail ticket, if applicable.
- In the Queue drop-down, select the desired queue that should apply to the voicemail ticket.
- In the Ticket Category drop-down, select the desired category that should apply to the voice mails ticket.
- In the Priority drop-down, select the desired priority that should apply to the voice mails ticket.
- In the Status drop-down, selected the desired status that should apply to the voicemail ticket..
- Click the Save button.
Set Catchall Company and Contact
- Navigate to Connected Account and CRM Settings → Autotask → VM to Ticket Settings

- Specify the Company and Contact that will be used when voicemail tickets are created for callers who phone number is unknown or does not match an existing contact.
Once done, any voicemails received for the assigned extension will produce a ticket with the voicemail file and transcription as an attachment. It does take a few minutes for the voicemail to be transcribed and the ticket to be created.
Not Seeing the Correct Queue?
If you are not seeing the correct Queue to be selected in the drop-down, ensure that you have the Queues synced up with your CRM. For information on managing your Queues, please see our Managing CRM Lists article.