Exporting Progressive Dialer Job Reports
- Log into the 1stream portal.
- Go to the Administration > Dialer Jobs/Campaigns menu.
- Click the Manage All text in the top right. The page will refresh to reflect the list of all dialer jobs.

- Click on the Dialer Job's name to select it.
- Scroll down to the Contacts section.

- Click on the Export icon. The Dialer Job Contact Export pop-up will appear with the basic report details.
- Choose Export Type by clicking on the Excel icon or the Schedule Report icon.
Excel
This export option allows for a non-scheduled export to be pulled.
- Click on the Outlook icon.
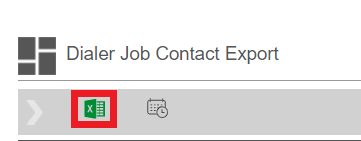
- The report will save to your browser within a few seconds.
Scheduling Export
This export option allows for automatic reoccurring HTML based exports to be ran after a one-time set up.
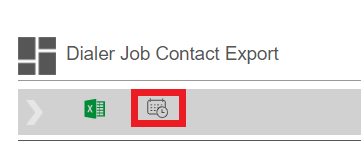
- Click on the Schedule icon. The Report Schedules pop-up will appear.
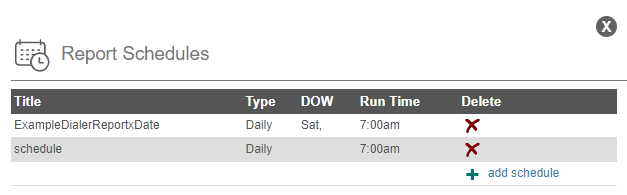
- Click the + add schedule button. The pop-up will refresh.
- In the Title field, add the Export Schedule name.
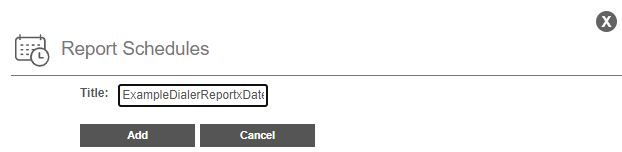
- Click the Add button. The pop-up will refresh.
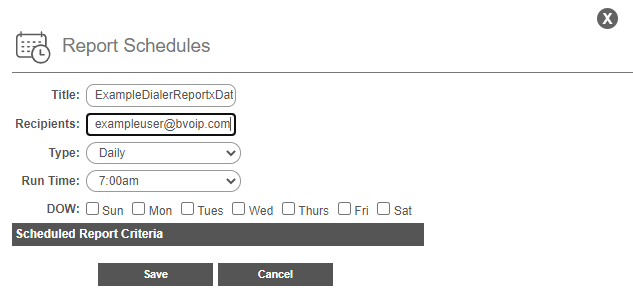
- In the Recipients field, add the email that should receive the export.
- In the Type drop-down, select the frequency of when the export should occur.
- In the Run Time drop-down, select the time that the export should be ran.
- In the DOW section, select at least 1 day for the export to be ran on.
- Click the Save button. The pop-up will close out.
The Report Schedule pop-up will show that the newly added scheduled report will be listed.