Haven't Built out the Custom Statuses Yet?
If you have not built out the desired custom statuses, please see our Creating Custom Statuses article before moving forward.
Changing Custom Statuses
- Log into the 1stream Portal.
- In the top menu, locate the Statuses icon.

- Click on Statuses. A pop-up menu will appear.
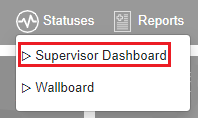
- Select Supervisor Dashboard. The Supervisor Dashboard will then appear in a separate browser tab.
- Scroll down to a desired agent.
- Click on the Agent's name. A pop-up will appear with the custom statuses reflected in a drop-down.
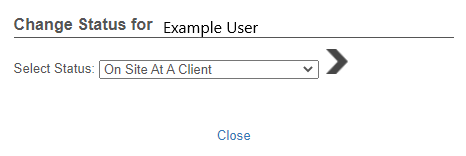
- Select the desired status to be applied.

- Click on the arrow button. The status will immediately be applied, and the window can then be closed.